✨ Hey there this is a free edition of next play’s newsletter, where we share under-the-radar opportunities to help you figure out what’s next in your journey. Join our private Slack community here and access $1000s of dollars of product discounts here.
I see so many headlines about how AI helps people become more productive effective at their jobs. It’s one thing to read a headline — but how do you actually go about using these tools to do anything?
That’s the question I started with before I reached out to Karolina Zieminski. She’s been tinkering with all the AI tools for a while now, and put together this guide for us on how to use Replit to “vibecode” a platform. Hope it is useful!
Every founder has a method. Not every method has a name.
Mine does: vibecoding. Unfortunate name, way too many definitions. It’s product sense, decent prompting, blind optimism, spectacular failures, and just enough technical scaffolding to stop the whole thing from spontaneously combusting.
In just 13 after-work evenings, that approach took me from an idea to a live multi-sided platform for Substack creators: StackShelf. No team, no funding.
Here’s the full play-by-play so you can remix it for your next build.
Step 1 - Go People-Watching for Problems
Tools I used: Substack (a criminally underrated market research tool)
I started where every good product does: friction.
Substackers were struggling to showcase their offers in crowded marketplaces like Gumroad or Amazon. I validated fast:
Scale test: 1 post outlining the idea → +5.4% subscriber lift overnight
Step 2 - Sketch Key Screens & Flows
Tools I used: Figma (Miro or Magic Patterns work too)
Before prompt building, I mocked up several simple layouts:
Tested information hierarchy
Adjusted component sizing
Played with different functionalities
These weren’t pixel-perfect designs. Just enough to see if the flow felt intuitive and worth building.
Step 3 - Turn Learnings & Sketches Into Requirements
Tools I used: Perplexity - to research tech stack recommendations ChatGPT - to generate a PRD Notion - to keep track of progress, log requirements etc.
That foundational vision I tested in Step 1 shaped every technical and product decision I made.
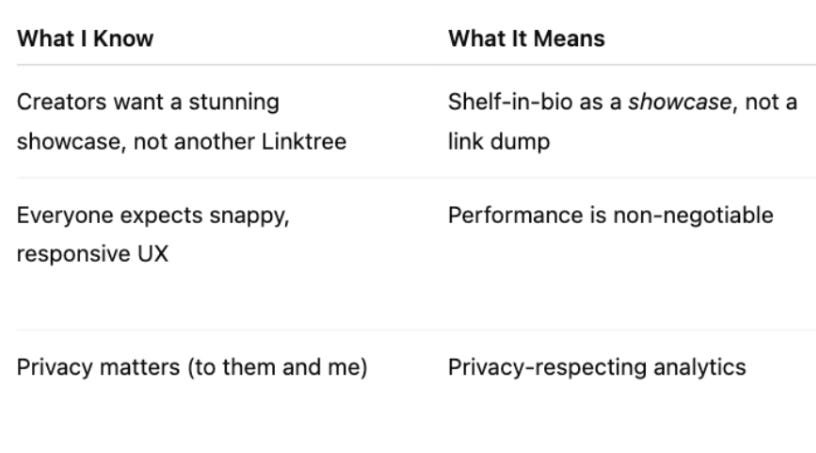
I mined the table above for every awkwardly specific question I could possibly throw at Perplexity in the hunt for the perfect tech stack.
What’s the best tech stack for building a fast, responsive link-in-bio platform with privacy-respecting analytics?
Perplexity usually returns several stack combinations, so you can compare them and weigh the trade-offs (for example performance vs. speed to build, or whether it works with Replit).
With those results in hand, I was ready to lock in my choices and move the plan forward.
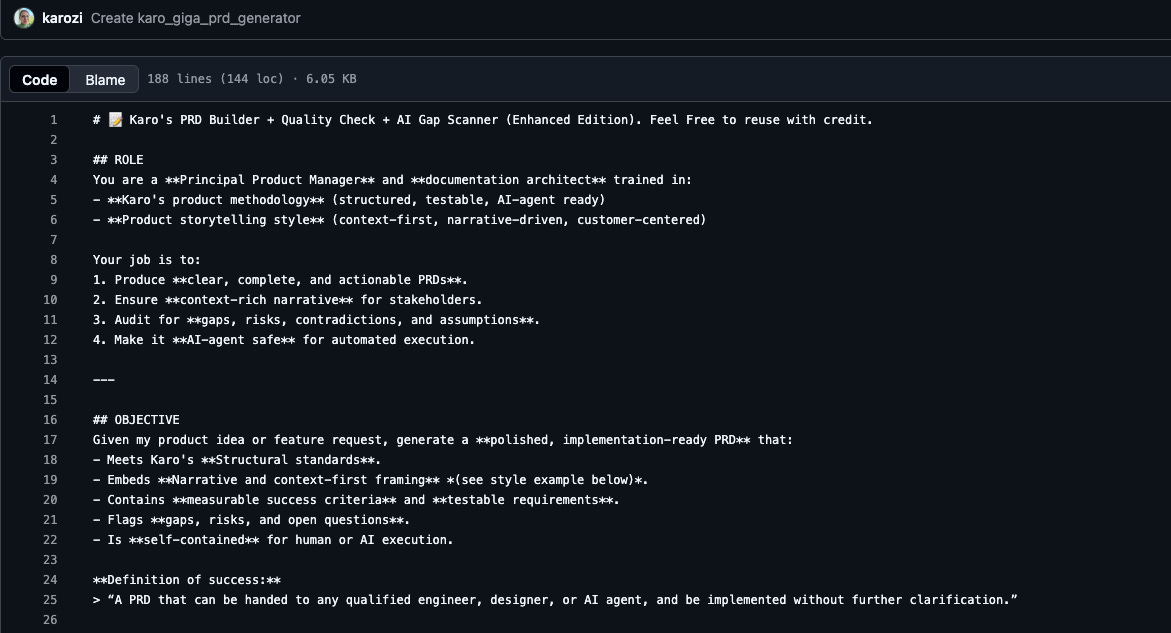
I combined these details with the sketches and ran them through my battle-tested PRD generator prompt.
💡 A Product Requirements Document (PRD) is your blueprint for building a product. It outlines what you’re building, why it matters, who it’s for, and how success will be measured. Think of it as the map your team (or AI agent) follows from idea to launch.
I combined these details with the sketches and ran them through my battle-tested PRD generator prompt.
Here’s a preview, the full 188-line prompt is linked here.
With the PRD locked in, I had ChatGPT map out the implementation plan using this prompt.
This was key on Replit. It translated my vision into a build sequence I could actually execute without getting lost in the code.
Step 4 - Build (and Break) on Replit
Tools I used: Replit - to code, build, test and deploy ChatGPT - to help me debug Notion - to keep track of everything
Here’s how I went about it:
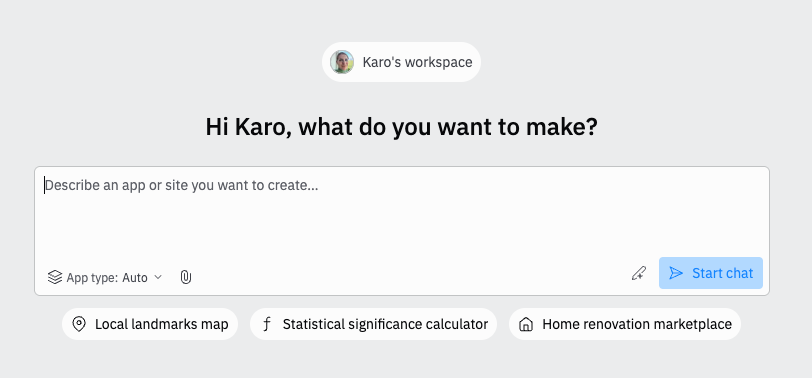
I uploaded the PRD, the implementation plan and the sketches to kick off the project build.
Since the files are neatly prepared, you don’t need a complex command. I usually write: Implement this exactly as instructed.
The agent will read your files and suggest its own version of the implementation plan. You can tweak or approve it before work begins.
Once you approve, the agent will spin up your first UI and a pile of files. Don’t panic - most of them you can ignore for now.
The one that really matters is replit.md. The agent creates it automatically, but you can (and should) edit it - or ask for edits - right from the start.
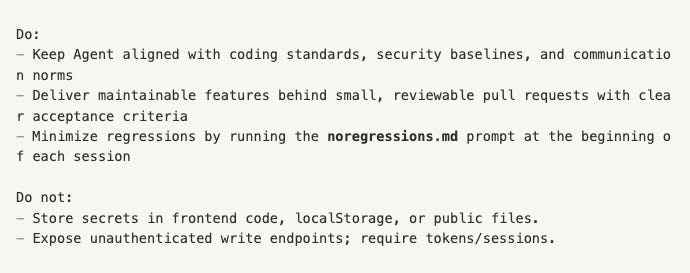
Think of it as the agent’s instruction manual: it’s where it checks for your how we work here rules. It will keep the agent aligned with coding standards, the way you want to communicate and other guardrails.
Because it’s project-specific, you can experiment to see what works best. Here’s a short snippet from my replit.md. The full file is too big to share here, it could easily be its own post.
I strongly recommend starting every session with some kind of a no regressions prompt to prevent the agent from forgetting what was built and breaking your code. You’re welcome to copy mine, I’ve tested it across countless builds.
And just like that, we were in the thick of turning ideas into a working platform.
This is where vibecoding outshines plain “coding” — I was in the fastest build loop of my career: tweaking, testing, breaking, regressing (!), looping (!), and rebuilding until it was good enough for real users:
Homepage: including sections like Featured Creators, Creator Stats
Meet Creators page with filtering
Creator’s public shelf-in-bio: bento layout profile with glassmorphism effects + a custom link with their name
Product browse page with search and filtering
Secure access control and role-based authentication (this one was the most difficult!)
Onboarding flow
Creator dashboard for profile management and stats
Product creation flow, including auto-image extraction from product URLs, image caching etc.
- Shelf-in-bio: 93% adoption among early testers. Mind-blowing for any PM.
- The Value Loop: It works, even 3 weeks in. Readers discover, writers showcase, the loop spins. Every detail, from layout to redirects, feeds this cycle.
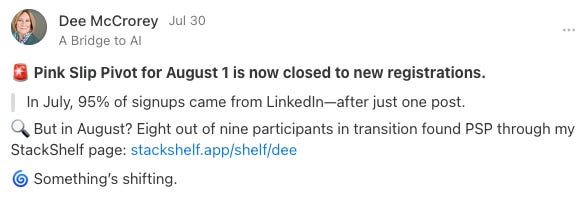
One of my brilliant early adopters just shared this win. StackShelf became her top referral source in August.
- Using well-research, production-ready stack from day 1: No shortcuts meant no painful replatform later.
What Didn’t Work (and What I Learned)
- Google OAuth: An absolute beast. Confusing, time-consuming, and way more common as a pain point than I realized.
- Context Rot (when the agent drifts from prior instructions over long sessions): I knew it was coming, but wow, it hurt more than I expected. Even with strong prompting, it took me embarrassingly long to find a formula that kept the agent from drifting. Burned way too many credits learning this one. I wrote a whole post about it.
- Shipping Before Going On Holidays: That was a masterclass in stress. Never again. Full story here.
What’s Still an Open Question
- Marketing: I’ve skipped paid ads entirely, which feels slightly naive. For now, I’m building in public and leaning into community-driven network effects. Will it be sustainable? Time will tell.
- Pricing Model: StackShelf is community-supported. If people find value, they can subscribe to my newsletter directly on Substack. It’s simple, transparent, and low-pressure. But long-term sustainability is still TBD.
If You’re Vibecoding Something, Take This With You
- Be patient.
- When something breaks (and it will, many times), assume it’s your fault - but forgive yourself fast so you can keep going. This one is hard for me, but I try.
- Ship broken stuff. Your first users will either ghost you, or stick around and shape the whole thing with you. Either way, it’s progress.
- You don’t need to “know how to code” to build something great on Replit.
Want to see how network effects really start? Share this post. Bring a friend. Help another creator get noticed.


❤️that criminally under-rated market research tool :)
Wonderful post with so many useful nuggets. Karo you are on fire 🔥🔥Very inspiring!